How to Create a Birthday Arch Backdrop
Adding a touch of magic to a birthday celebration is always a delightful task. One way to create a memorable atmosphere is by setting up a stunning birthday arch backdrop. This not only serves as a fantastic photo opportunity but also adds a festive touch to the event. Here's a step-by-step guide on how to create a beautiful birthday arch backdrop that's sure to impress.
Before we dive into the details, remember that the key to a successful arch backdrop is planning. Consider the birthday theme, the color scheme, and the available space. With these factors in mind, let's get started!
Gather Your Materials
Assembling the right materials is crucial for a successful project. Here's a list of items you'll need:


- Cardstock or poster board
- Scissors or a paper cutter
- Glue gun and glue sticks
- Ribbon or streamers
- Markers or paint (optional, for decoration)
- Tape or command hooks (for hanging)


Choose Your Arch Design
There are numerous arch designs to choose from, ranging from simple to intricate. Some popular options include:
- Classic pointed arch
- Rounded arch
- Oval or heart-shaped arch
- Themed arches (e.g., castle, floral, or geometric)


Create the Arch Structure
Once you've decided on your arch design, it's time to create the structure. Here's a simple way to make a classic pointed arch:
- Draw your arch design on the cardstock or poster board. Make sure it's large enough for your needs.
- Cut out the arch shape.
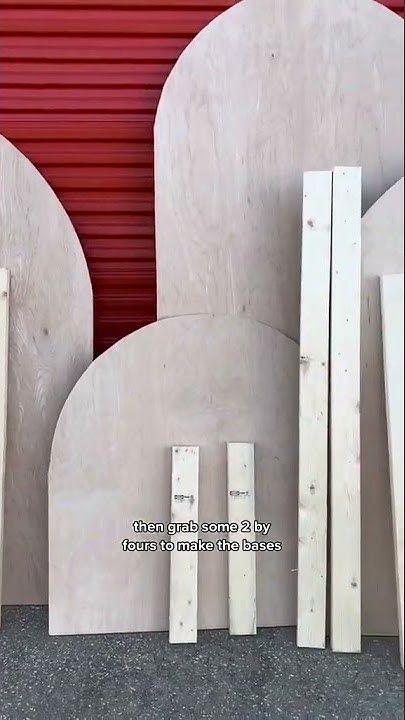
- Create a second arch to serve as the backdrop. This can be the same size or slightly larger for a layered effect.
- Use the glue gun to attach the two arches together, leaving a small gap at the top for the ribbon or streamers.




Decorate Your Arch
Now that you have the basic structure, it's time to bring your arch to life with decorations. Here are some ideas:
- Paint or draw designs on the arch using markers or paint.
- Attach ribbon or streamers in your chosen color scheme.
- Add themed elements, such as flowers, balloons, or cut-out shapes.
- Hang signs or banners with the birthday message or the honoree's name.
Hang Your Arch Backdrop
With your arch complete, it's time to hang it up. Here are a few methods:
- Use tape to secure the arch to the wall. Make sure it's strong enough to hold the weight.
- Use command hooks to hang the arch. This is a removable option that won't damage walls.
- If you're using a freestanding arch, ensure it's stable and won't tip over.
And there you have it! A stunning birthday arch backdrop that's sure to make the birthday boy or girl feel special. Don't forget to take plenty of photos under the arch to capture the memories. Happy crafting!
Related Articles

Create Arch Text in Canva: Step-by-Step Guide
Ever wanted to add a touch of creativity to your Canva designs with arch-shaped text? You're in the right place. In this step-by-step guide, we'll walk you...

How to Create a Simple Balloon Arch with String
Transforming a simple gathering into a festive celebration is easier than you think with a DIY balloon arch. This vibrant and fun addition can be created with...

How to Create a Stunning Greenery Backdrop
Transforming a dull space into a lush, inviting oasis is easier than you think with a greenery backdrop. Not only does it add a touch of nature, but it also...

Diy Wedding Arch Tutorial: Create a Dreamy Backdrop
Are you dreaming of a picturesque, personalized wedding ceremony that reflects your unique style? A DIY wedding arch can serve as a stunning focal point and a...

Wooden Wedding Arch DIY: Create Your Perfect Rustic Backdrop
Adding a personal touch to your wedding ceremony can make it truly unforgettable. One way to do this is by creating a DIY wood wedding arch. Not only is it a...

DIY Boho Wedding Arch Flowers: Create a Magical Entrance
Are you planning a boho-chic wedding and looking to add a touch of natural beauty to your ceremony? A DIY boho wedding arch adorned with lush flowers is the...